DIY Multi-Tiered Dessert Server for Holiday Entertaining
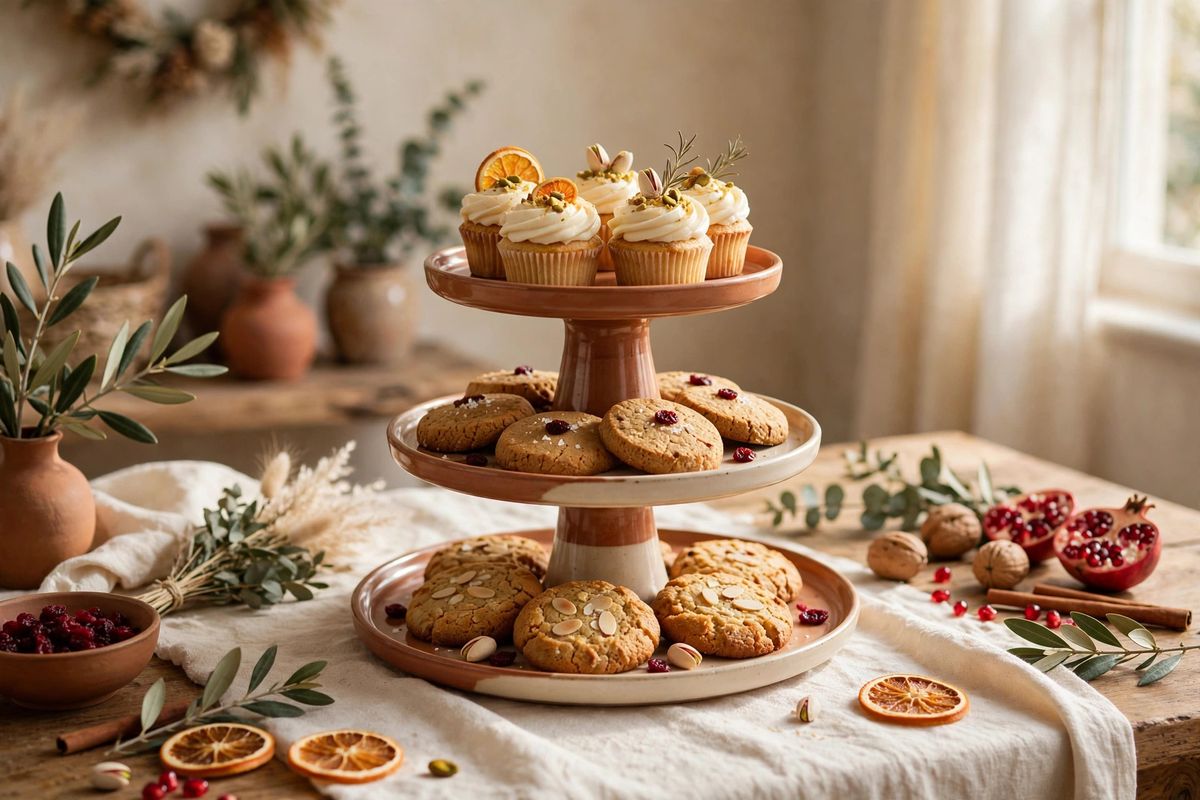
A tiered dessert server makes even simple treats look like a party. The trouble is that pretty stands can be bulky to store, and the one you own never seems to be the right height or color when guests are coming. This easy DIY version uses sturdy plates and a strong center support to create a flexible stand you can assemble for a holiday buffet, a cookie exchange, or a birthday dessert table.
I like this project because it is practical. Use dishes you already own or pieces that match your holiday colors. It can be left dry-fitted for storage or permanently bonded. Read through all the steps before you begin, especially the safety notes about adhesives and food contact.
Choose Plates That Will Be Stable
Look for three plates with flat centers and a clear difference in size: a large dinner plate or serving platter for the base, a medium salad or dessert plate for the middle, and a small plate for the top. Melamine, sturdy ceramic, and glass all can work, but the bottom piece must be strong enough to carry the weight above it. Avoid cracked, chipped, or warped dishes.
For the center posts, use two short, wide supports with flat ends. Chunky candle holders, small inverted ramekins, sturdy espresso cups, or turned wood pieces can work if both ends sit flat. Height matters. Each tier should leave enough room for the food below: cupcakes and frosted cookies need more clearance than flat sugar cookies or truffles. Test the stack empty before any glue comes out. If a support rocks, choose another one.
- Three clean, uncracked plates in graduated sizes with flat centers.
- Two short supports with wide, flat ends, such as chunky candle holders or ramekins.
- Strong craft or ceramic adhesive suitable for the materials you chose, used exactly as directed.
- Rubbing alcohol or warm soapy water for cleaning bonding surfaces, plus a lint-free cloth.
- A ruler or tape measure, painter tape, and a pencil for marking centers.
- Paper towels, disposable gloves if your adhesive requires them, and a level surface for curing.
- Optional: felt pads for the bottom if the stand will sit on a delicate table.
Plan the Stack Before You Glue
Wash and dry every piece thoroughly. Any grease, dust, or moisture can weaken the bond. Set the plates upside down on a towel and find the center of each one. Measure across in two directions and mark the middle lightly on the underside. Measure carefully; eyeballing alone often leaves the top tier leaning.
Dry-fit the whole tower. Place the largest plate right side up, set the first support in the center, add the middle plate, then the second support and the smallest plate. Step back and look from all sides. Check that the stand is centered, the tiers are level, and there is enough room for the desserts you plan to serve. Move food around in your imagination: tall treats on the bottom may collide with the plate above.
If you want a stand that can be stored flat, stop at dry assembly and use it only for lightweight items while supervising the table. For parties with children reaching for cookies, a bonded stand is safer. Never carry a loaded stand by the top plate or center post; support it from the base with both hands.
Assemble the Stand Step by Step
Work in a ventilated area and follow your adhesive instructions for open time and curing. Some adhesives need a full day before the piece can handle weight. Keep children and pets away while you work, and do not rush the cure just because guests arrive soon.
- Lay a towel on a flat table and arrange the largest plate upside down so you can see your center mark.
- Clean the plate center and the bottom rim of the first support with alcohol or soapy water, then dry completely.
- Apply a thin, even ring of adhesive to the support end that will touch the large plate. Avoid a big blob that squeezes out and looks messy.
- Set the support on the center mark, press gently, and use a small strip of painter tape to hold it upright while the bond begins to set.
- Flip the large plate carefully only when the adhesive allows handling. Place the middle plate upside down, clean its underside center, and bond the other end of the support to it in the same way.
- Repeat the process with the second support between the middle plate and the small top plate, checking alignment from several angles.
- Wipe away any adhesive squeeze-out immediately with the method recommended for your product, then leave the stand undisturbed for the full cure time.
- After curing, test the empty stand with a gentle wiggle and a few lightweight items before loading it with desserts.
Style It Without Stressing the Stand
Load the heaviest items on the bottom tier and save delicate or tall pieces for the top. Brownies, bars, and dense cookies belong low. Meringues, truffles, and one special cupcake can go above. Leave a little breathing room so guests can serve themselves without knocking neighboring treats. If you are serving anything sticky or crumbly, place parchment or a doily on the plate first for easier cleanup.
Keep food safety in mind. Wash the stand according to the plate and adhesive limits; many bonded pieces should be hand washed and dried promptly. Do not put a glued stand in the oven, microwave, or dishwasher unless every material and adhesive is rated for it.
A beautiful dessert table is not about buying more. It is about giving simple homemade treats a little height, a little space, and a moment to shine.
After the party, note which plate combination worked and store pieces with soft cloths between them.
Frequently Asked Questions
Can I use plates I already own?
Yes, as long as they are sturdy, uncracked, and have flat centers for stable bonding. Everyday ceramic plates work well for a first version. Avoid thin glass that flexes, plates with a strong curve, or anything sentimental that you would be upset to chip. If the surface is decorative or old and food safety is uncertain, use parchment or liners under the food.
What if I do not want to glue anything?
You can dry-stack a stand for a stationary dessert table using wide, flat supports and lightweight treats, but it should not be carried while assembled and it should stay out of reach of climbing toddlers. For a buffet where guests will bump the table, bonding is the safer choice. Another option is to use a purchased stand for serving and save DIY stacking for lightweight decor.
How much weight can a DIY dessert stand hold?
It depends on the plates, supports, adhesive, and cure time, so test gradually. Start with the empty stand, then add a few light items, and stop if you see flexing, rocking, or adhesive stress. Keep heavier desserts on the bottom tier and never overload the smallest top plate. When in doubt, serve from two smaller displays instead of building one tall tower.